Overview
Description
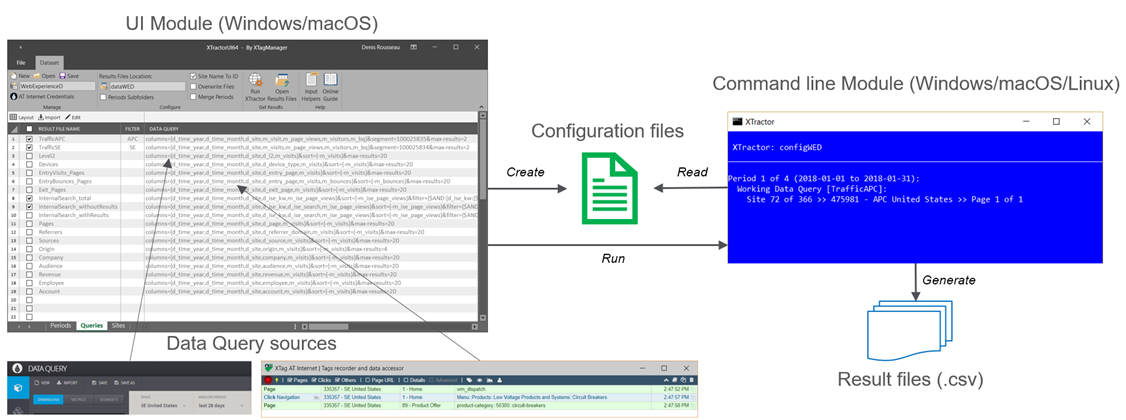
XTractor is a desktop software allowing to setup and automate all kind of AT Internet Data extractions without writing a single line of code. With one call, it iterates all Data Queries pages over a set of Sites and Periods, and consolidates extracted results even when they contains Custom Dimensions.
XTractor belongs to XTagManager suite, but it is free and always will be. It is made of two modules available for download:
|
|
The core engine, called Command Line module: it performs all operations from instructions provided in configuration files (Dataset and Sites group). |
|
|
The UI module: an assistant to create and maintain these configuration files. |
|
|
XTractor works with ATI Data Query URLs provided by ATI Data Query Designer or XTag AT Internet, then imported in Queries list. |
|
|
It allows defining reusables Sites groups for which these Queries will be executed, even when they contain custom dimensions or segments based on them. |
|
|
It extends data extraction thanks to a list of fixed or relative Periods, optionally merged. |
|
|
It generates CSV files (tab delimited), then allows opening them as tables for instant Assessments. |
Features
Full extractor, without development nor limit
XTractor can iterate all results pages of each Data Query, for each given site and periods.
When you reach Data Query’s rows limits, just split in several Periods and ask XTractor to Merge Periods.
When you reach Data Query’s filters limits, just split in several Queries with the same root name (differentiated by hashtags), it will be used by XTractor to merge the Result Files.
|
There’s one limitation however: XTractor doesn’t support Data Query with comparison periods. By design, this must be achieved by declaring the two different periods. As a result, the comparison is not provided in additional columns, but additional rows. |
Flexible consolidator, without development nor limit
At any moment, you can create your own sites group and extract any data history.
Custom Dimensions (source types, metrics, site/page variables) are automatically mapped for each site, then consolidated in the same column with their understandable name. Segments based on them can also be used in queries, when they have been declared for each Site.
Schedulable
Can work silently in command line, with Windows Task Scheduler, Mac Automator or Linux Cron or any scheduling tool, thanks to operation control based on configuration files.
Multi-platforms
Command line module is available for Windows, macOS and Linux.
Prerequisites
UI Module
This executable is an Office application: Excel 2010 or further must be installed.
XTractorUI32 must be used with Excel 32 bits versions, XTractorUI64 with Excel 64 bits versions: Windows Installer installs the proper one, but if you’ve done a manual installation and that you have a doubt, just run one of them, it will warn if you don’t use the proper version.
Command Line Module
You must provide a valid AT Internet account for all data extractions.
Operations
|
1. |
Enter the name of your Dataset configuration and its Result Folder |
|
2. |
|
|
3. |
Select a Site group in Sites tab. If there’s still no group created, download one provided by Web Analytics Team in XTractor installation directory. If there’s none provided, enter the list of sites ID you want to address in the first column, then click on Update, wait for Sites data completion and click on Save As to give this group a name. |
|
4. |
Select at least one period type in the Periods tab, then enter it or adjust the proposed one. |
|
5. |
Click on Run XTractor |
|
6. |
Once data extraction achieved successfully, you can optionally click on Open Results Files, then open one or several generated file(s). If XTractor warned an error, fix it and relaunch your data extraction. |
See Assessment for a complete illustrated example.
Manage
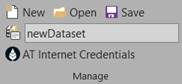
New
After confirmation, discard all current changes and start a blank Dataset configuration.
Open
After confirmation, open an existing Dataset configuration.
Save
After confirmations, save all changes in [DatasetName].json. To Save As, just change the dataset name before saving.
Dataset name
Enter the dataset name. That will be the name of the JSON file where dataset configuration will be saved.
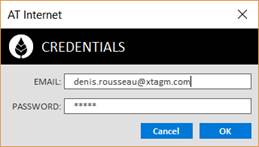
AT Internet Credentials
Enter you AT Internet credentials, then click on OK. There’s no verification of credential validity.
|
Your credentials are stored in computer’s registry, and ten reused for each Dataset |
Configure
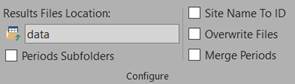
Results Files Folder
Enter the relative or absolute directory path used as root directory for results files generation. If this directory doesn’t exist, it will be created. See here for more details.
Periods Subfolders
Select to create period(s) subfolder(s) under Results Folders specified above. Let unselected to create results files directly in this folder. See here for more details.
Site Name To ID
When selected, Site Name is replaced by the corresponding Site ID in all Result Files (d_site column). It’s useful when results are embedded in a database where Site ID is the primary key (keeping in mind that Site Name can be sometimes changed). Let unselected to keep Site Name. Si here for more details.
Overwrite Files
If Selected, when result file already exists, it is overwritten. When Periods SubFolders is not selected with more than one period measured, result file name is appended with the begin date month to avoid each period to be overwritten by the subsequent one.
If not selected, result file name is completed with an unused index to avoid overwriting: …_01.csv, or …_02.csv, etc… See here for more details.
Merge Periods
Select to create only one Result File per Data Query, whatever the number of periods. If Periods SubFolders above is selected too, this unique file will be created in a subfolder.
When not selected, a new file is generated for each period and each query (one sub-directory per period when Periods SubFolders is selected). See here for more details.
Get Results
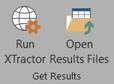
Run XTractor
Save the current Dataset and run data extraction.
Ensure before that you have entered your ATI Credentials, otherwise you’ll be warned.
Ensure also there’s at least one Query selected, with at least one Site defined in selected group, and at least one Period setup. If it’s not the case, you’ll be warned.
If everything’s OK, data extraction is started:
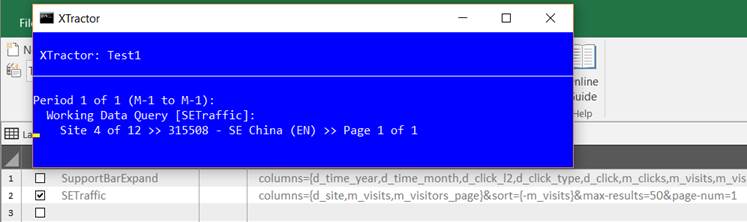
If no error happens during extraction, XTractor blue console is closed and you can Open Results Files or use them for your needs.
In case of error, it remains displayed to show you what’s wrong (see how to solve processing errors).
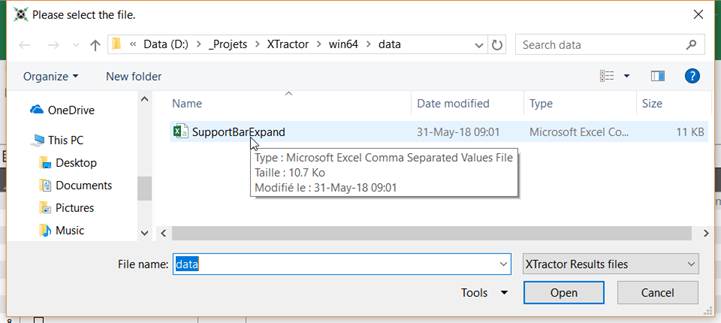
Open Results Files
Once measurement successfully achieved, select the corresponding file name:
The file is open as table, taking benefit of Table Tools Design and Data features:
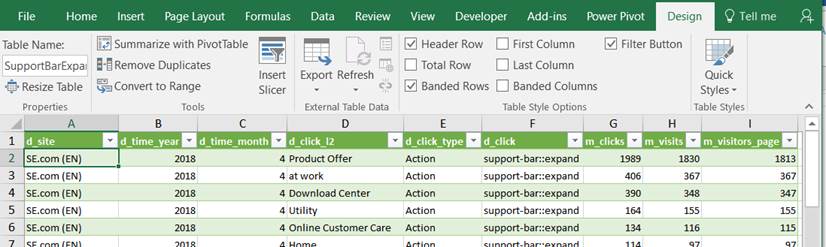
You can work on it and save the Excel Workbook (original CSV file will be kept as it is).
You can select another one, it will be open in the same workbook, so that you’ll be able to create instant relationships.
Help

Input Helpers
Displays Input tips for fulfilling columns fields:
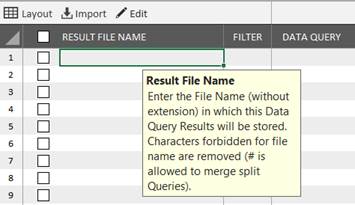
It is useful for XTractor beginners and deactivated by default. You can activate it permanently until you feel comfortable with required fields, and then deactivate it when you’re bored to see those messages.
Online Guide
Open this guide at the proper section, depending on activated tab.
Access rights
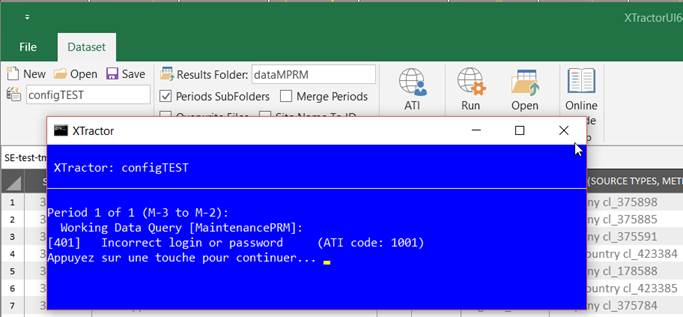
>> Ensure you have entered correct credentials, and that you are granted on the sites you want to extract.
Malformed Queries
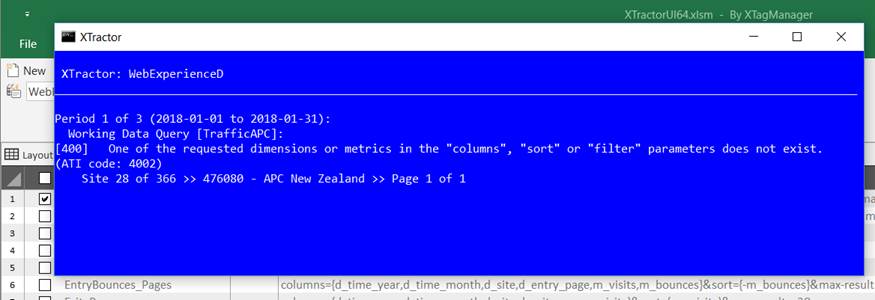
>> Your query has been probably modified manually, and a mistake has been made. Rebuild it with AT Internet Data Query Designer.
Undefined custom variable
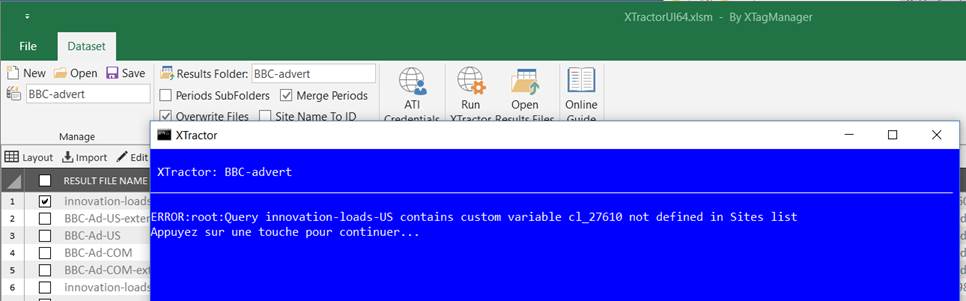
>> Ensure that your Sites Group defines the corresponding custom variable. If you’re not sure, click on Update.
>> If it still doesn’t work, it means that the Site used to build this query is no longer present in Sites group, so consider one of these actions:
1. If removing this Site was a mistake, re-add it in the group (just its ID), then click on Update.
If it was voluntary:
2. Pick one cl_xxx value with the same name in Sites group (custom variable columns), then edit manually the query to replace the one indicated in error message (cl_27610 in example above) with picked value.
3. Replace the faulted value (cl_27610 in example above) by the corresponding variable name defined in Sites group (custom variable columns), for example: origin.
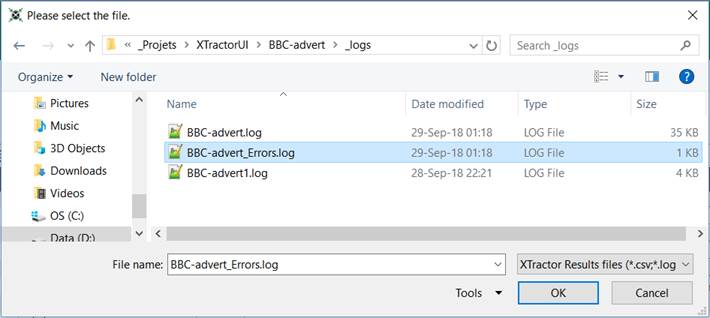
Query errors
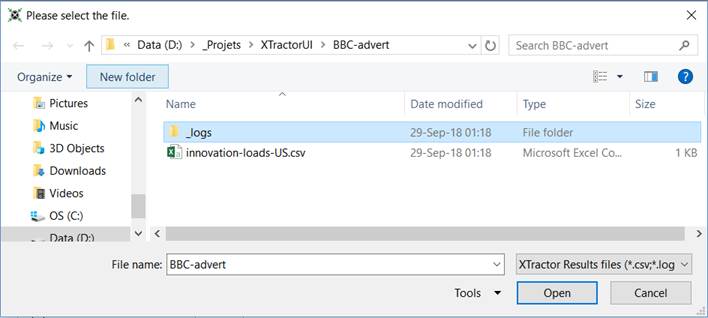
1. Click on Open Results Files.
2. Navigate
into _logs subfolder.

3. Open the
file named the same than your Dataset, suffixed with _Errors.
4. You will
see all errors detailed:

|
Status |
See status code |
|
|
ATI Code |
||
|
Error Level |
See Error Level |
|
|
Message |
When available, an understandable explanation of issue.
In case of connectivity issue
(starting by Failed to establish a new
connection:...) it also contains a system error code, like
[WinError 10060]. |
|
|
11001 |
Most of time, this is an issue with your internet connection. |
|
|
You are connected behind a proxy server or through a VPN which faces some congestion: retry later, and if it still fails, use a direct connection. |
||
5. If you still don’t figure out what happens, copy the Url provided, try to import it in ATI Data Query Designer, then play it.
Other errors
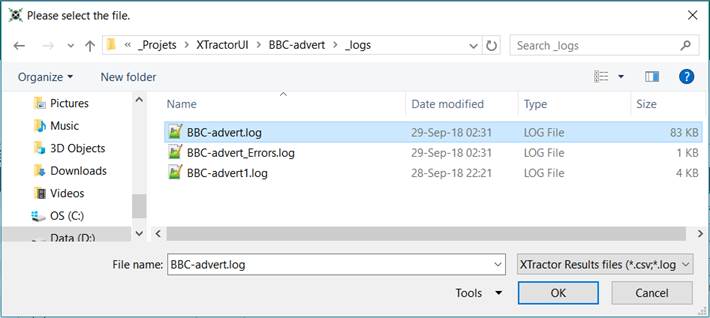
1. Click on Open Results Files.
2. Navigate
into _logs subfolder.
3. Open the
file named the same than your Dataset.
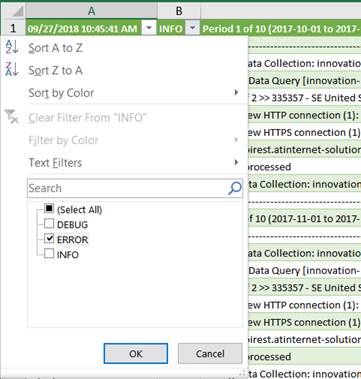
4. Filter
second column on ERROR
I get an error, how can I fix it?
First consult the errors section. If this is related to your credentials, queries or periods settings, you can fix it by yourself. Otherwise, copy your logs files and send them to XTractor support with your configuration files.
Can I get XTractor sources to embed in my IT project?
No, XTractor sources are not provided nor for sale. But basically, that would be a design error: XTractor is a control layer component, embedding an evolutive added value.
When you take component sources instead of the component itself, and above all when you adapt them, you make them yours: you will no longer benefit of further evolutions and fixes.
In IT architecture, this is a violation of the Reuse release Equivalence Principle (REP).
XTractor command line module can be installed on a server (Windows or Linux), and its periodic runs can be scheduled: your IT system or BI tool can be directly linked on result files. If it requires REST API connection, it’s really easy to create the web service just to download them, or to iterate them by pages.
How to use a provided Sites group?
If your company provides ready-to-use Sites Group, for example mySites.csv, just copy it in your XTractor installation directory. If UI module was already open, it’s not necessary to relaunch it: just go to the Sites tab, you will see mySites in the proposed list. If you were already on Sites, move to another tab, then go back to Sites.
How to copy a configuration on another machine?
One XTractor configuration is made of one .json file (Dataset: settings, queries and periods) and one .csv file (Sites group), all stored in XTractor installation directory.
For example, if you want to copy the configuration below, you must copy WebExperienceD.json and SitesWED.csv on XTractor installation directory of the target machine.

Can Linux version use configurations generated by Windows UI module?
Basically yes, just ensure that both are at the same version level.
Can I run simultaneous data extractions?
Yes, several XTractor command line module instances can be run in parallel, but not more than five with the same credentials (AT Internet limitation to avoid Denial Of Services).